 Skip to content
 How to Using FRP Sheets for Mobile Homes
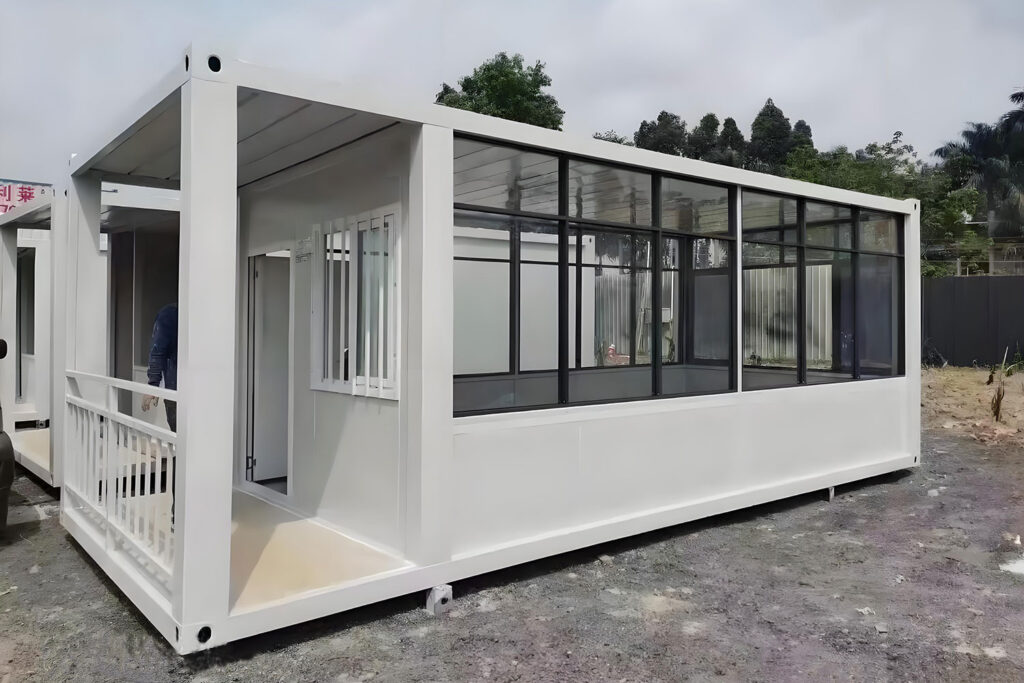
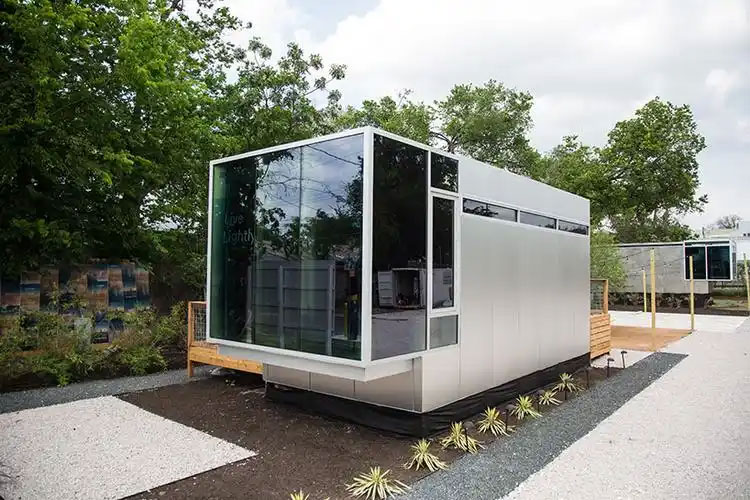
Using FRP (Fiberglass Reinforced Plastic) sheets to build or renovate a mobile home is a very practical and economical choice, especially for exterior walls and roofs. FRP sheets are known for being waterproof, corrosion-resistant, durable, and easy to install.
Below is a detailed guide covering the advantages of FRP sheets, suitable applications, installation steps, and important considerations.
Part 1: Why Choose FRP Sheets for a Mobile Home?
FRP sheets are particularly well-suited for mobile homes for the following reasons:
Excellent Durability: Very strong and impact-resistant, unlikely to crack or deform, able to withstand the stresses of transport or severe weather.
Completely Waterproof: The material itself is waterproof, effectively preventing rain infiltration and solving common leakage problems in mobile homes, thereby avoiding internal structural rot and mold growth.
Lightweight: Compared to traditional wood or metal siding, FRP is lightweight, adding minimal extra load to the mobile home’s chassis and structure.
Low Maintenance: The smooth surface does not absorb water and resists algae growth. It can be kept looking new with occasional washing with water and soap, requiring no frequent painting.
Easy Installation: Can be installed like large wall panels. DIY enthusiasts with basic tools and skills can manage the project.
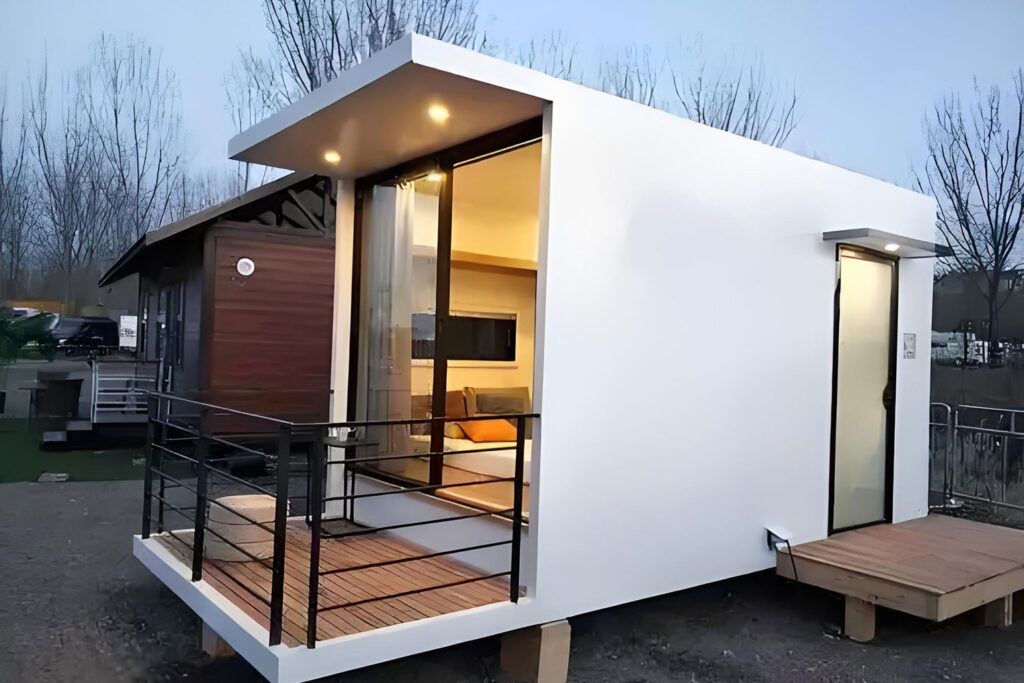
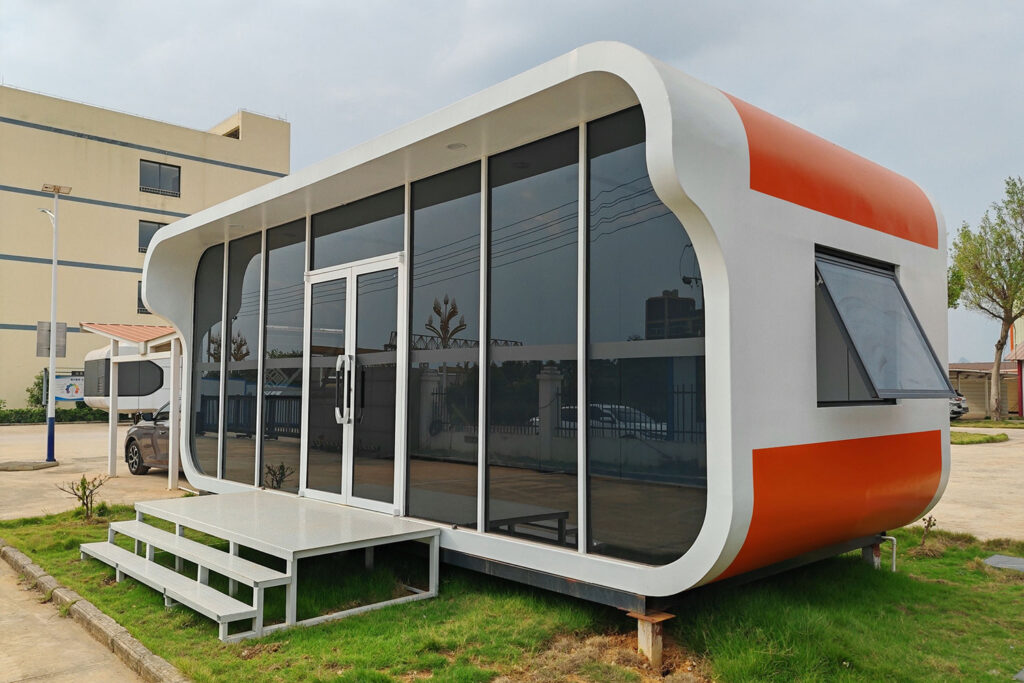
Aesthetic Appeal: Available in a variety of colors and surface textures (e.g., smooth, diamond pattern, leather grain), it can serve as the final finish, enhancing the home’s appearance.
Part 2: Where to Use FRP Sheets on a Mobile Home
Ideal Applications:
Exterior Wall Cladding: This is the most common application. FRP can be installed directly over existing wood or metal siding as a new, waterproof protective layer.
Skirting: Ideal for the skirting around the base of the mobile home, which is prone to moisture and damage.
Roof: This area requires special attention. While FRP is waterproof, its use on flat or low-slope mobile home roofs demands extremely meticulous seam sealing. It is more commonly used on pitched roofs or awnings.
Interior Applications:
Bathroom and Kitchen Walls: Its waterproof properties make it perfect for wet areas.
Cabinets and Furniture: Can be used to make or refinish cabinet doors, as it is easy to clean.
Part 3: Step-by-Step Installation Guide (Using Exterior Wall Cladding as an Example)
Tools and Materials Needed:
FRP Sheets
Measuring Tools (Tape measure, level)
Cutting Tools (Circular saw with a fine-toothed wood blade or an angle grinder with a metal cutting disc)
Fasteners (Recommend self-tapping stainless steel screws with neoprene washer or specialized rivets)
Construction Adhesive (Choose a polyurethane sealant or FRP-specific adhesive compatible with your substrate)
Primer (If needed for better adhesion when gluing)
Personal Protective Equipment (Safety glasses, gloves, dust mask)
Installation Process:
Surface Preparation:
Thorough Inspection: Check the existing walls for rot, looseness, or mold. Any structural damage must be repaired first.
Clean the Surface: Ensure the wall is clean, dry, flat, and free of dust and grease.
Install a Weatherproof Barrier: It is highly recommended to install a weatherproof barrier (like house wrap) between the old siding and the new FRP sheets as an extra layer of protection against moisture condensation.
Measuring and Cutting:
Take precise measurements of the area to be covered.
Mark the measurements on the back of the FRP sheet and cut using the appropriate tool. Cut with the finished side up to minimize chipping.
Pre-Drilling Holes:
Pre-drill holes in the FRP sheet and into the underlying wall studs. The hole diameter should be slightly larger than the screw shank to allow for thermal expansion and contraction.
Installing the Sheets:
Install sheets from the bottom up, similar to installing siding, so that upper sheets overlap the lower seams.
Apply a continuous bead of sealant on the wall studs where the sheet will be placed.
Position the FRP sheet and secure it with screws. Screws should be driven into the raised ribs of the sheet, not the flat areas, for a better appearance and waterproof seal.
Tightening Screws: Do not over-tighten screws. Tighten just enough to secure the sheet snugly without deforming it.
Sealing Seams and Corners:
Vertical seams between sheets should align with wall studs and be covered and sealed with H-channel or J-channel trim.
All edges where the FRP meets windows, doors, or the roof must be thoroughly sealed with high-quality sealant.
Use specific exterior corner trim pieces for corners to ensure a clean, waterproof finish.
Part 4: Crucial Considerations
Structural Support: FRP sheets are not a structural material. They must be installed over a solid underlying structure (like wood or metal studs). Ensure your mobile home’s frame is sound.
Thermal Expansion/Contraction: FRP sheets expand and contract with temperature changes. It is essential to leave expansion gaps (refer to the product manual) and avoid over-tightening fasteners.
Fire Safety: Standard FRP sheets are flammable. If your area has fire codes for building materials, consult your supplier about fire-rated FRP options.
Ventilation: When installing FRP wall cladding, you must not completely seal the mobile home. Ensure the original wall ventilation system (e.g., soffit and base vents) remains unobstructed. Blocking ventilation can trap moisture within the wall cavity, leading to mold and rot.
Professional Consultation: For roofing or structural modifications, it is highly advisable to consult a professional contractor or architect, especially to ensure compliance with local building codes.
In summary, using FRP sheets to renovate a mobile home’s exterior is a very viable DIY project that can significantly improve the home’s durability and appearance. However, with waterproofing, the details are critical. Be sure to meticulously seal all seams and edges, and carefully account for ventilation and thermal expansion.